4.5/5 on App Store
Ever wondered: “How do I scan a document on iPhone and upload it to my computer?”
The answer? All you really need is your iPhone.
Since 2017, the Notes App already packs a nifty built-in scanner feature. Simply put, your iPhone’s a portable scanner.
To scan a document on your iPhone, simply point, snap and shoot.
But before you get started, there’s a better way to scan documents on your iPhone and smoothly upload it over to your computer.
Not sure how to scan a document on iPhone and upload It to your computer? Read on to find out more.
Scan a document on iPhone and upload it to your computer with the built-in scanner feature
As mentioned earlier, Apple’s Notes app packs a handy built-In scanner feature that lets you scan documents with just your iPhone.
With this scanner feature, you can:
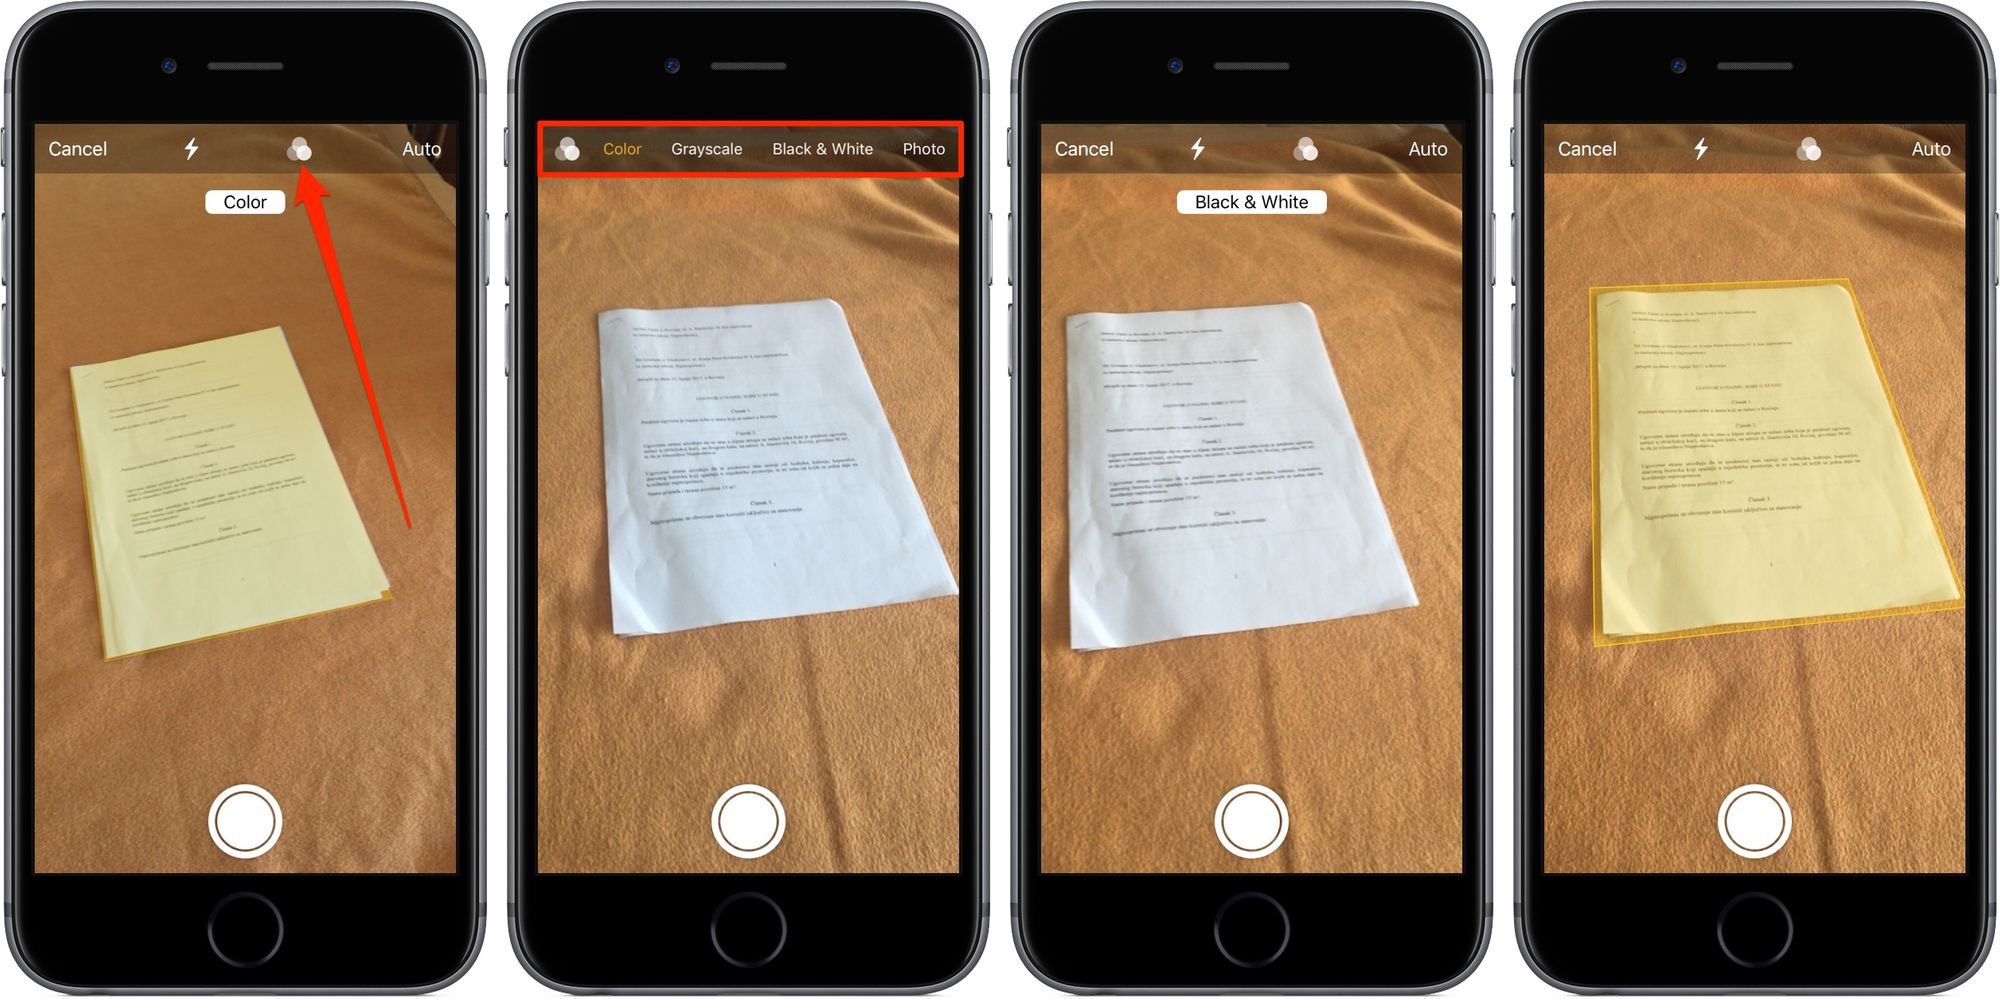
- Scan all sorts of documents in both colour and grayscale
- Edit scans directly on your iPhone.
To scan a document on your iPhone with the built-in scanner feature, simply:
- Open your Notes app
- Tap the “+” symbol above the keyboard
- Select “Scan Document”
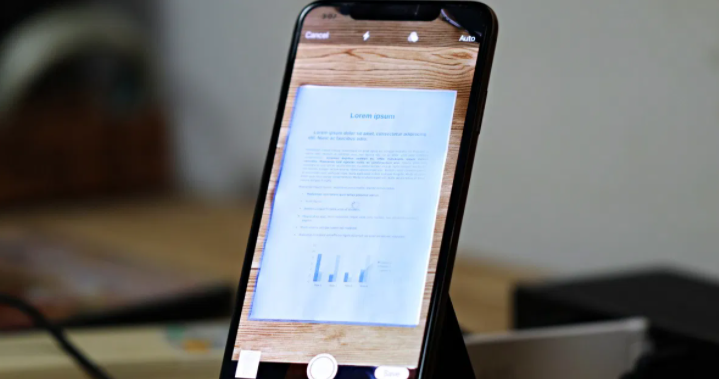
- Tap the shutter button when ready, or hold your iPhone or iPad steady over the document.
Once you’ve gotten a scan, you’ll need to head over to your iPhone’s media library (or wherever you chose to save the scan in).
Select the scan, and send it over to your computer via email or instant messaging.
The iPhone’s built-in scanner feature automatically returns you to camera view after finishing a scan, so you won’t have to always toggle between apps if you’re scanning multiple pages.
Problem is, uploading your scan(s) to your computer isn’t seamless.
The Notes app doesn’t allow direct scan transfers, so you’ll need to manually send your scans over to your computer instead.
Scan better and upload faster with PDF Scanner
Your iPhone’s scanner feature works great. But PDF Scanner works even better.
When you use PDF Scanner, the app’s unique image recognition techniques deliver consistently sharper, higher-quality scans that leave out zero details.
Together with Batch Mode, PDF Scanner also lets you fly through the pages and receive only crystal-clear scans all the time.
Plus, unlike the built-in scanner feature, PDF Scanner lets you share you scans via email – all without having to leave the app.
Whether you’re rushing to beat the homework deadline or need to zoom through hundreds of pages within minutes, PDF Scanner’s powerful features have you covered.
To scan a document on your iPhone and upload it to your computer with PDF Scanner, all you need to do is:
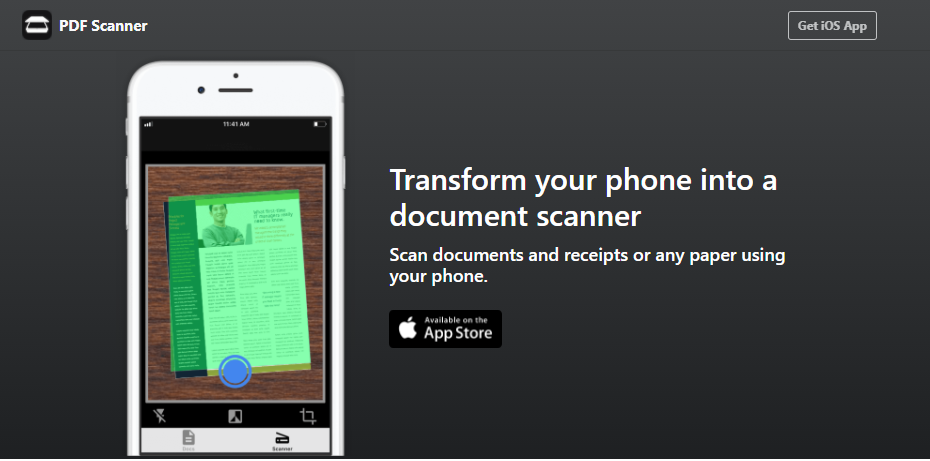
- Download the app for free from the Apple Store.
- Open the app.
- Tap the Scanner icon.
- Select the camera icon to proceed.
- Tap the blue button once the scan area completely covers the document.
- Edit or retake the image, or hit confirm to send.
And that’s it!
Save your scan on your iPhone for easy reference, or select ‘Email PDF’ or ‘Share PDF’ to quickly send your scan over to any other mobile or desktop device.
Scan and upload the better way with PDF Scanner

And there you have it.
To scan a document on iPhone and upload It to your computer, all you need is your iPhone. But for the best experience, PDF Scanner is just a quick download away.
So that’s our answer to: How do I scan a document on iPhone and upload it to my computer? Download PDF Scanner now and start scanning and uploading documents the better way today.