4.5/5 on App Store
If you haven’t paid attention to your iPhone privacy settings, it’s time you should.
Let’s be honest – you literally live most of your live on your cell phone today.
Contact information. Sensitive messages. Location data. Mobile browsing history.
With so much information on you, your cell phone probably knows more about you than yourself.
Whether you’re on an Android or iPhone device, it’s important to protect your personal data with the right privacy settings.
Android users have a list of handy privacy tips already. For iPhone users, do you know what iPhone privacy settings you should enable right now?
Top 9 iPhone privacy settings to change
1. Disable access to your location data
Being physically stalked is creepy, but what about getting cyber-stalked 24/7 by more than just one app?
Many mobile apps on the market today rely on user locational data for certain functions.

Uber wants to know where its drivers can pick you up at. Postmates needs to know where to deliver food to.
Sometimes, you’ll also share locational data without a second thought.
Instagram lets you pin your location to Stories. TikTok and Snapchat pretty much have that same feature.
The problem is that these apps often share your locational information with many third-party companies. What these companies do with your data isn’t decided by the app you’re using.
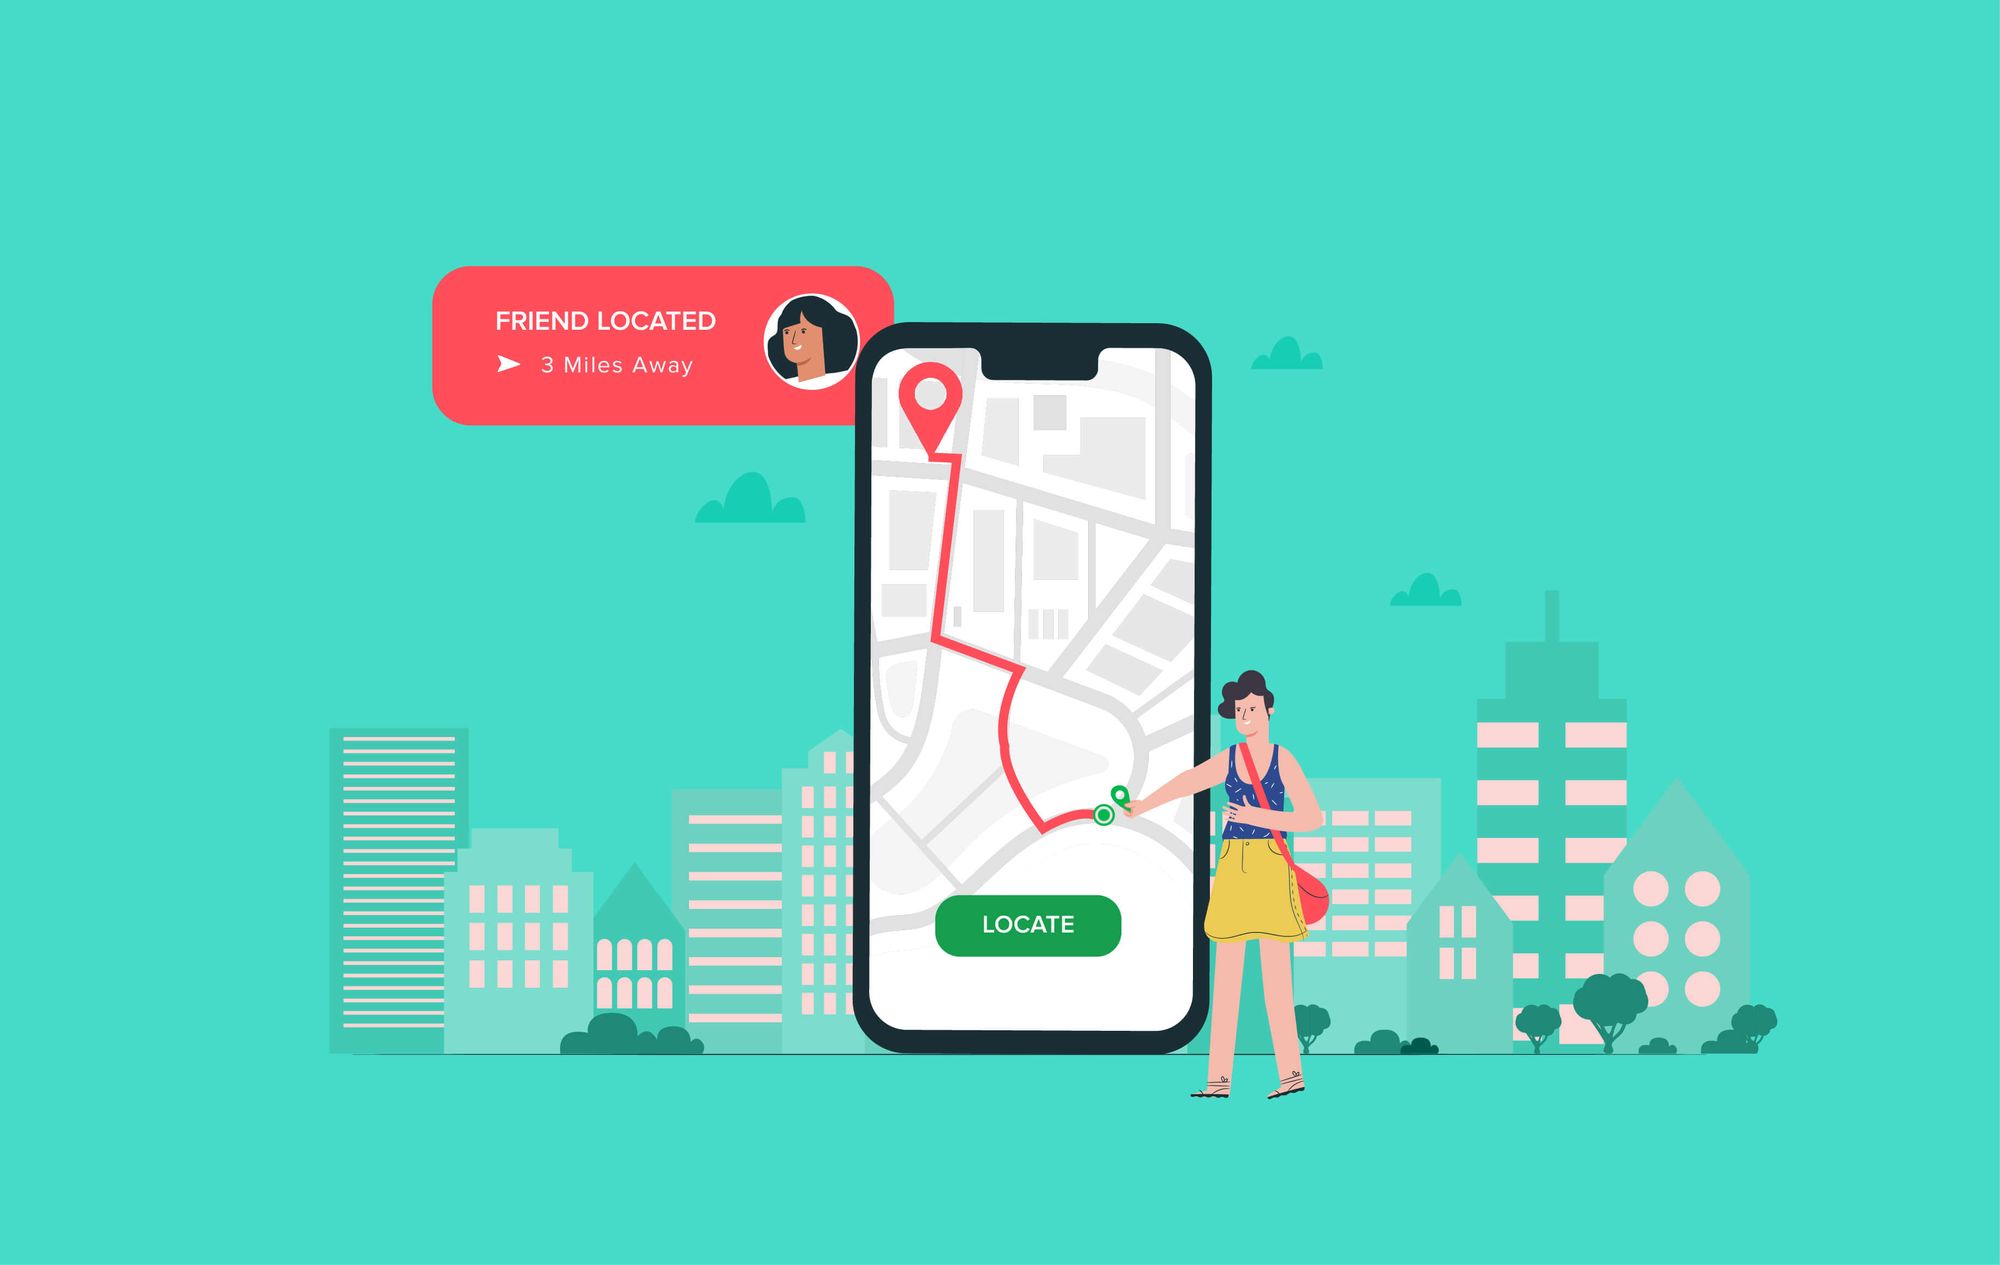
Even scarier, these apps can track you to pinpoint accuracy AND constantly relay information on where you’re at more than 10 000 times a day!
It’s best to simply disable access to your location data. On your iPhone,
- Go to Settings
- Tap Privacy
- Select Location Services
- You’ll see a list of apps that have access to your location data
- Switch off individual settings to Never.
If an app cannot function without locational data, consider switching it to “While Using the App” instead. Never leave it on “Always”.
This doesn’t mean you’re out of the woods yet. In 2017, popular weather app Accuweather got caught selling user location data illegally, even when users had switched their location data off.
Limiting access to your location data isn’t foolproof, but it’ll keep you a lot safer.
2. Stop your camera from snapping unwanted shots
You should also change your iPhone privacy settings for your phone camera.
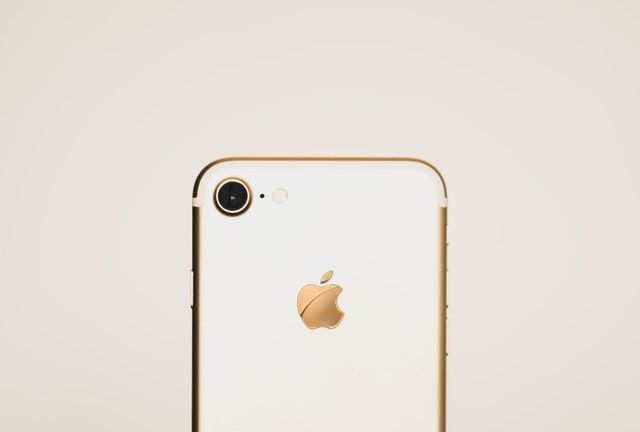
Many iPhone apps also request or have access to your iPhone camera. Apps like Snapchat and TikTok, for example, let you use filters with your camera.
But not every app needs to use your iPhone camera – some have less-than-convincing reasons to do so.
On iPhone default privacy settings, apps that request or have access to your iPhone camera typically have permissions set at “Always”. To get the best iPhone privacy settings for your camera, take these steps:
- Go to Settings
- Select Privacy
- Tap Camera
- You’ll see a list of apps that have access to your camera
- Switch all individual settings to Never.
3. Limit ad tracking
One of the most important iPhone privacy settings to change is the option to limit ad tracking.
Both Android and iOS devices allow advertisers to display you targeted ads based on your phone usage and online browsing activity. The good news is both OSes also allow users to easily limit this invasive practice.
On your iPhone, you can do so by following these steps:
- Go to Settings
- Tap Privacy
- Select Advertising
- Select Limit Ad Tracking
- Also make sure to tap Reset Advertising Identifier
Limit Ad Tracking means your iPhone will stop tracking future activity. Reset Advertising Identifier gets rid of your past activity, so advertisers won’t be able to show you those creepy, stalkerish banner ads again.
4. Switch off iPhone Analytics
Advertising isn’t the only reason why your iPhone tracks your activity.
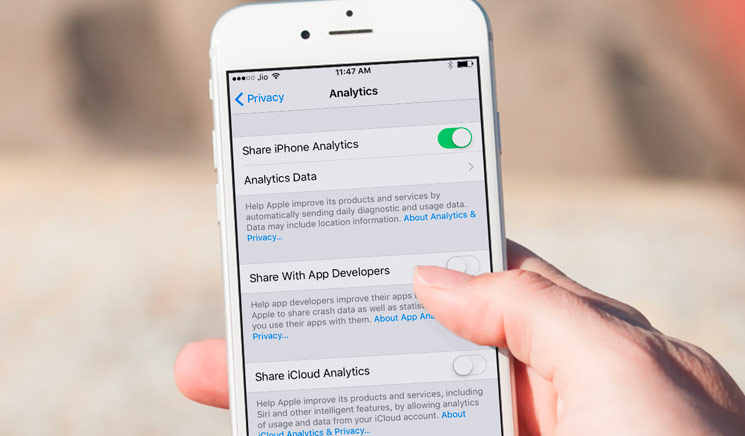
On iPhones, there’s also a featured known as iPhone Analytics. Apple has previously claimed that this feature is meant to help the company improve its products and services by relaying diagnostic and usage data back to its servers.
Yet, some of this data may be highly personal information you have no interest in sharing. Not only is this invasive, It could also threaten your safety.
To switch off iPhone analytics, follow these steps:
- Go to Settings
- Tap Privacy
- Scroll down and select Analytics
- Disable Share iPhone Analytics
5. Don’t forget to switch off iCloud Analytics too
While switching off iPhone Analytics, you may also discover another feature called iCloud Analytics.
iCloud is the default backup location for all Apple devices. iCloud Analytics, as the name suggests, analyses what’s stored on your iCloud, and sends text snippets back to Apple’s servers.
Apple claims that this feature helps Siri meet your needs better. But the issue is that the snippets Apple sends back can include contents of private messages and confidential emails.
Follow these steps to turn off iCloud Analytics:
- Go to Settings
- Tap Privacy
- Select Analytics
- Disable Share iCloud Analytics
6. Use another web browser or VPN for better privacy
You may also want to think twice before using your default iPhone browser.
Despite Apple’s assurances, Safari has had issues dealing with multiple privacy issues as recently as January this year.
Worse, cybersecurity researchers have also sounded the alarm on how vulnerable Safari is to malware that could see not only your web browser, but even your iPhone’s mic and camera being remotely controlled by hackers.
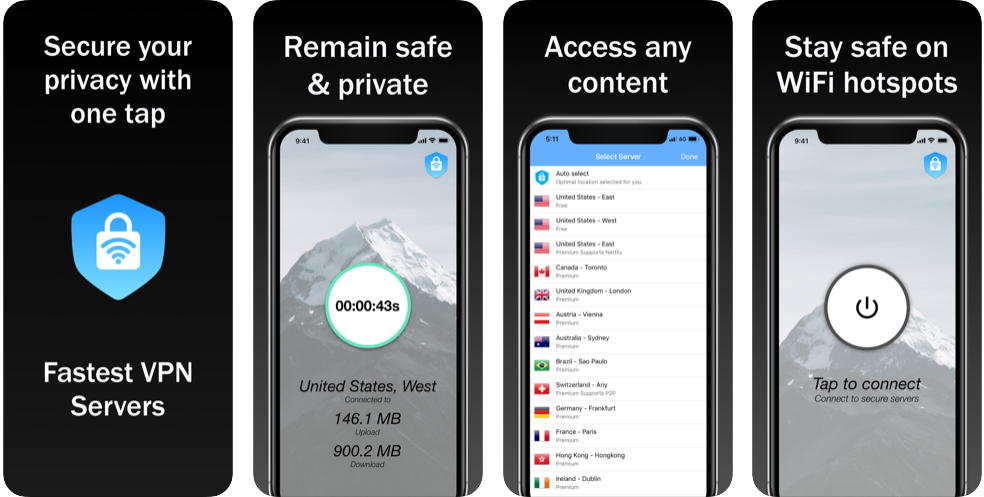
As privacy advocates, we highly recommend getting a VPN to prevent your online activity from being tracked. A reliable mobile VPN like our own VPN Vault can get you started.
Even better, you should also consider using a different browser. The open-source FireFox browser is a great alternative that is not only privacy-oriented, but also free.
7. Stop sensitive information from popping up on your lock screen
In addition to iPhone app privacy and browser privacy settings, you should also optimise your lock screen for ideal privacy protection.
This means:
- Setting a lock screen password
- Minimising your lock screen sleep timeout
- Limiting what apps can display notifications on your lock screen.
On your iPhone, follow these steps:
- Go to Settings
- Select Face ID a& Passcode. If you’re using an older iPhone, try Touch ID & Passcode instead.
- Tap Turn Passcode On.
- Key in your preferred 6-digit passcode
- Re-enter your passcode to confirm and activate it.
- Once you’re done, go back to Settings
- Select Display and Brightness
- Tap Auto-Lock
- Set the duration to as low as possible
- Go back to Settings
- Tap Notifications
- Switch off notifications from apps that contain sensitive information.
8. Keep USB Restricted Mode always switched on
When changing your iPhone’s location and privacy settings, you should also change privacy settings to prevent unauthorised USB transmissions.
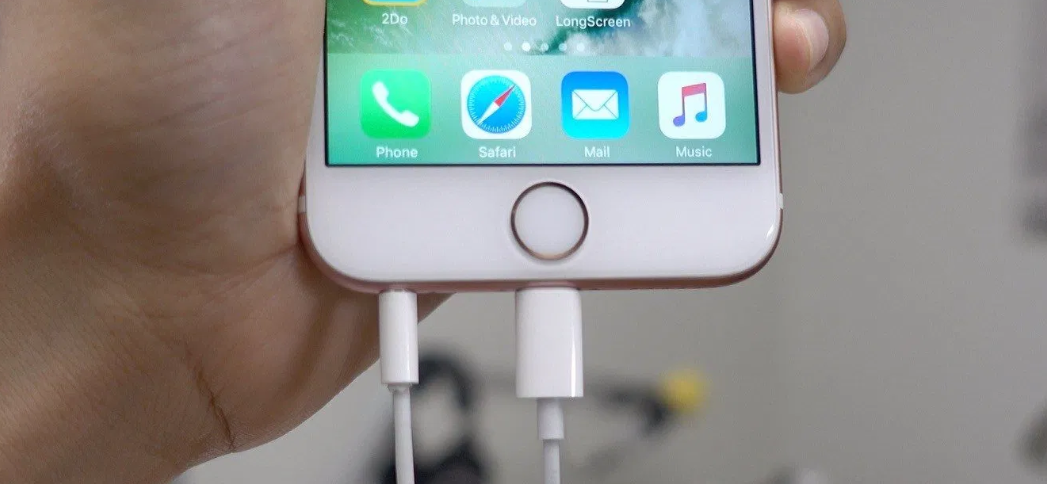
All iPhones charge via the Lightning port. But the lightning port does more than just act as a charging connection – it’s also how data gets transferred between devices.
On default iPhone privacy settings, all a hacker needs to do to get your informaton is simply disguise a USB as a powerbank and have you plug it to your iPhone.
Scarily easy, isn’t it?
To prevent unauthorised USB connections from getting your data, follow these steps:
- Go to Settings
- Select Face ID & Passcode
- Key in your passcode
- Toggle USB Restricted Mode on
9. Consider switching Erase Data on
When all else fails, you’ll need to have the nuclear option ready.
All iPhones now come with a feature that erases all data on the device after 10 failed log-in attempts. If you’ve lost your phone or it gets stolen, this feature can prevent your personal data from falling into the wrong hands.
To switch on Erase Data:
- Go to Settings
- Select Face ID & Passcode
- Toggle Erase Data on
That’s how to set iPhone privacy settings
Leaving your iPhone on default privacy settings won’t keep you safe from privacy intrusions. From browser privacy to camera privacy, you’ll need to change your iPhone privacy settings if you want maximum privacy protection.
Those were just some iPhone privacy settings you should really change right now. Be sure to double-check your iPhone’s privacy settings every now and then, especially if you’re always trying out new apps. Keep your iPhone privacy safe today!